
My Final Piece has been in my eyes a great success, everything has gone to plan and the process went smoothly.
I began by drawing out every individual comic strip by hand o A3 sheets of paper. I then traced the lines with black ink to make the lines a darker black that is much easier to work with.
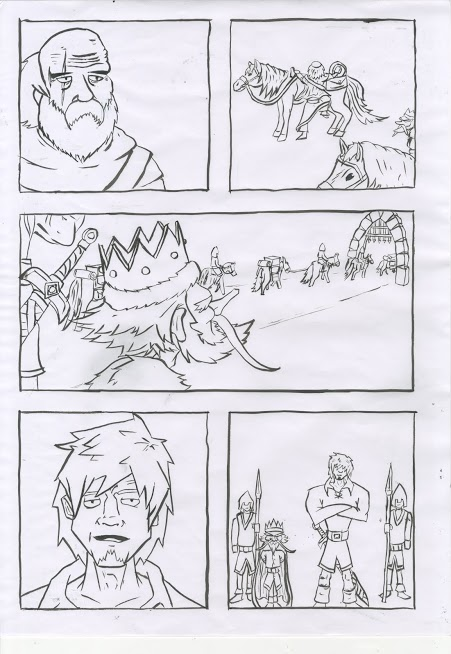

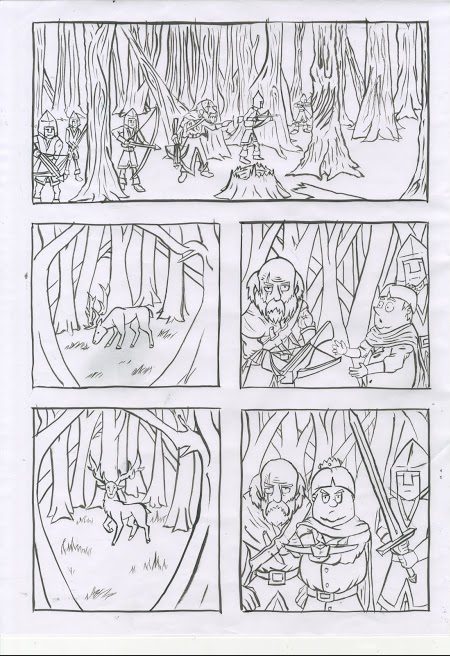
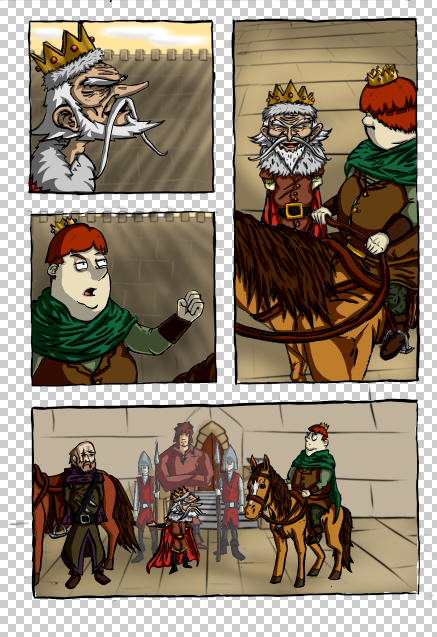
Next I threshold adjusted each of them in Photoshop in order to separate whites from blacks so that I could use the pen tool to delete the white areas that were going to be colour.
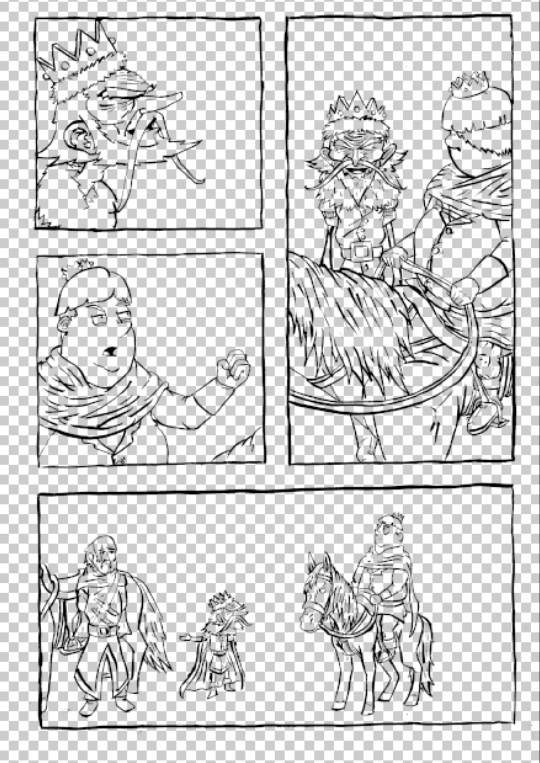
This process was repeated on all of the other pages as well.
Next stage was to add colour to all of the images, I added colour to the images in digital drawing software using a graphics tablet with some hints and tweaks in Photoshop.
In the first page that is shown below, I wanted the setting to be at sunset, so I used the gradient tool in Photoshop and an overlay effect set to linear burn in order to create the effect of a low setting sun.

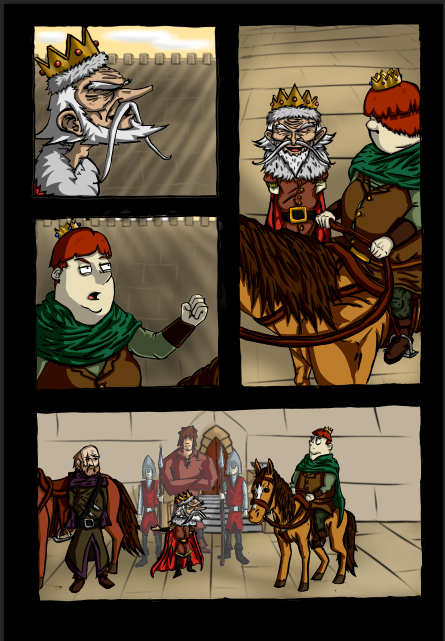
Next I added shading in a technique known as 'cell shading' where the darker tones are conveyed through large angular shapes of a darker colour.
I also added a black border around the edges of the images to make the comic strip look more like the real product.
Next I added the gradient filters to make create the sense of a setting sun.
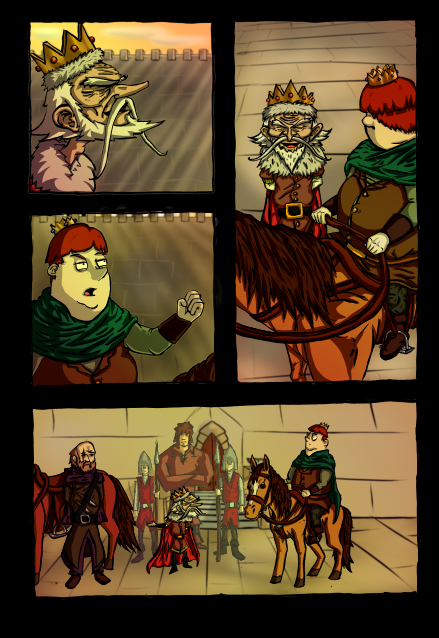
And finally I just needed to add speech bubbles to finish off the whole comic strip.

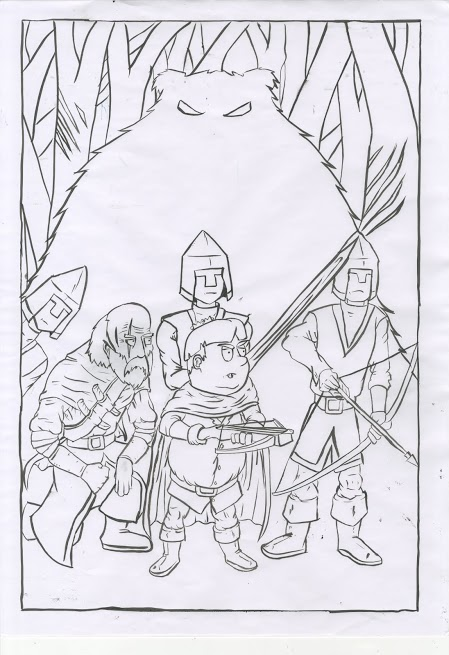
now all of the comic strips were finished, it was time to finish the front cover.
The cover was made completely digitally using a graphics tablet and drawing software.
Here are the finished Final
Medieval Comic Book Cover And Comic Strips.


