Wednesday, 26 November 2014

Drawing Style


This is a page in my sketchbook I have used to practice the drawing style I will use when creating the illustrations in need for my comic. 


Scamps (Others)


 Here are my scamps of comic book covers and double page spreads from other designers. These scamps have given me ideas and an insight as to what I will need to include in my own comic book.


Second Emulation

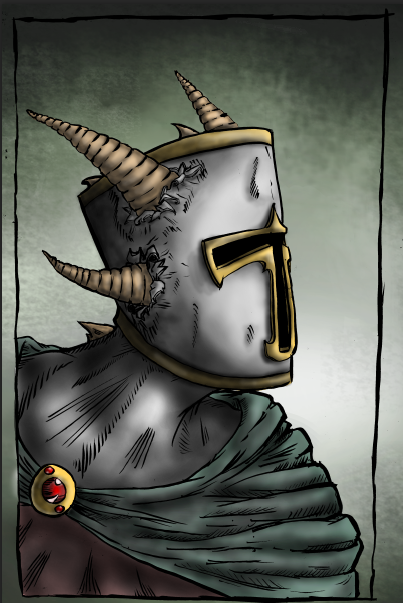
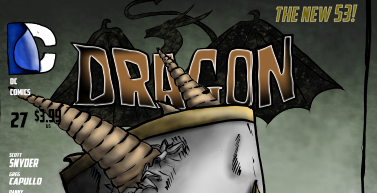
As an emulation for the copy of a Batman comic book cover I decided that I would use the same eerie style of the bones and bubbly colour in a medieval theme that was a good fit to my genre of comic book I wish to end up producing.

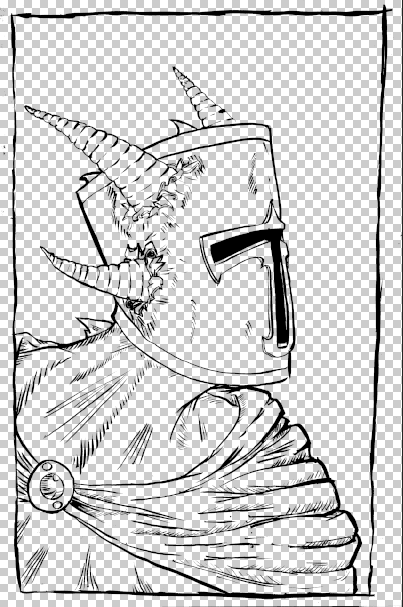
I started with the pencil line drawing out the head of a Knight with huge dragon horns bursting out of the helmet.


I then traced the lines with ink using a light box and a brush to get dark black lines


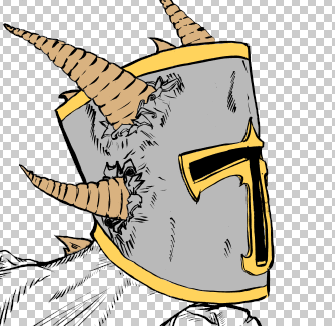
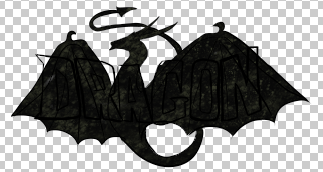
The next stage was to threshold the image in Photoshop so that the whites and blacks could be separated and the whites deleted.


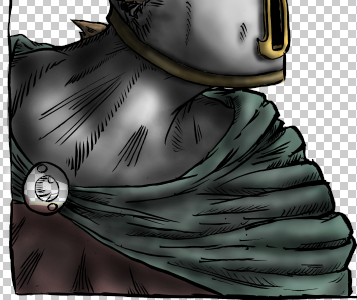
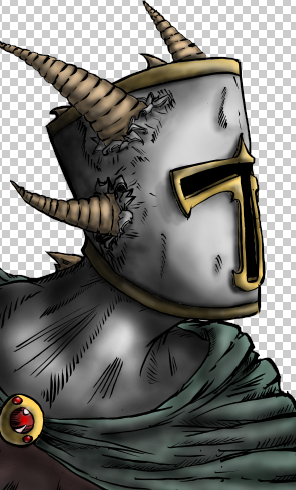
Once all white areas had been removed it was time to add colour to the image. I used the same custom brush I used in my copy for shading and texturing areas in the colouring stage.


The background was created using many of the same techniques as I used in the copy, using a custom brush to add texture and shading.


It was now time to start adding the text to the image including the price, bar-code, DC comics logo and issue number.


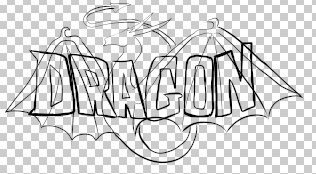
The title was created using digital drawing software to draw the black lines and then use of a custom brush and gradient tool in Photoshop.


Once everything was added to the image my second emulation was completed.
Here is my final second emulation.


Tuesday, 25 November 2014

Second Copy - Batman

As a second copy, I found this image of an eerie batman comic book cover, I felt that this would make an excellent second copy and I wold love to play around with the style when creating my own emulation.  This process was very similar to my previous copy and emulation so  already had an understanding of what I needed to include.

The first step was to draw out the outline in pencil ready to be inked afterwards. At this stage I wanted to pay attention to as much detail as I possibly could in creases of the clothing areas  an wrinkles  in the face.


Next stage was to Ink the image using a brush and ink, It was at this stage I used mostly black on the mask as the original Image utilized the use of solid black shading like many comic books use.


Once I had Inked nd canned the image into the computer, I took it into Photoshop to be threshold adjusted in order to separate the whites and blacks.
I then used the magic wand tool to delete the white areas of the image ready for colouring.


Then the colouring process was upon me. I used the brush tool in Photoshop to add colour on a hard brush and a fill opacity. 


I then added these splatter marks by using a custom brush in Photoshop that I created myself, i used this in a few areas of the image to add texture and shading to areas such as clothing, the background and even the title/logo.


The title and the DC comics symbol both used much the same process as the original drawing using a pencil, ink and Photoshop to get them to a back line ready for colouring. 


The background was created as i mentioned using a custom brush as well as other preset brushes in Photoshop in order to get a bubbly textured image that looked very similar to the original.


When the background was added I could see the whole image come together and look much more like the original.


The next step was to tart adding all of the text and titles to the image to finish the whole process off. this ended up asking the image look even more like the original and gave me a better insight to see if anymore edits were needed to enhance the image.


This was the last part of the copy to be completed. 
Here is a comparison of the original and my copy.


                Original                                                                                                                     My Copy

Wednesday, 1 October 2014

Emulation

As an emulation of the style of the Deadpool artist copy, I needed to create something that linked with my comic book and also at the same time share certain aspects of the Deadpool image in order to show it was an emulation. 
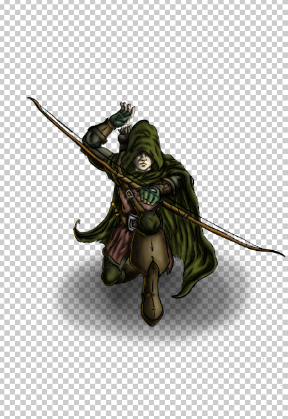
I ended up deciding to draw a medieval archer bent down on one knee. I took inspiration from the Deadpool image when drawing the pose of the character, as the image of his body has one knee bent backwards, and  has a gun aiming towards the viewer. I tried my best to emulate the pose in my own way by having him kneel and aiming a bow towards the viewer. I applied all of the same methods that I used when creating the artist copy. It was first drawn in pencil on an A3 sheet of paper.

After drawing it in pencil I used a light pad and a brush with ink to trace the lines onto yet another sheet of paper in order to get a darker black line. While going through this process, I took the time to use a thinner line on the body parts that were more towards the background of the image such as the hand that's reaching behind the head, and thicker lines for the parts that are closer to the foreground like the bow. This gives a sense of depth to the image as there is more detail visible in the closer areas of the image that the areas I want to appear further away. 

I needed to now make the lines stand out with a solid black so that when it came to colouring the lines would stand out from the colour. I did this by scanning the image into Photoshop and adjusting the threshold.

Once the ink picture was complete, it was time to start adding colour in Photoshop. To begin with I applied colours that were going to be the lighter tones. By doing this, it allowed me to develop a technique of shading that was fast, but also effective. 


I used a soft brush with an opacity of 14 set to black and started to apply shading to various areas of the image including creases in fabrics, shadows on the  floor, definition of facial features and muscle tone. 


As soon as the primary shading for the archer character was completed, a background was needed to complete the image. I once again looked back to the artist copy for inspiration and found a way of in keeping with the theme of the original picture. In the original, there is no back ground really other than what appears to be old looking paper. I had a think about what I could do to incorporate old and worn out paper in the background, but also make it link with the medieval theme I'm looking for, and came up with the idea of turning the paper in the background into a medieval map, with small illustrations of castles and dragons.

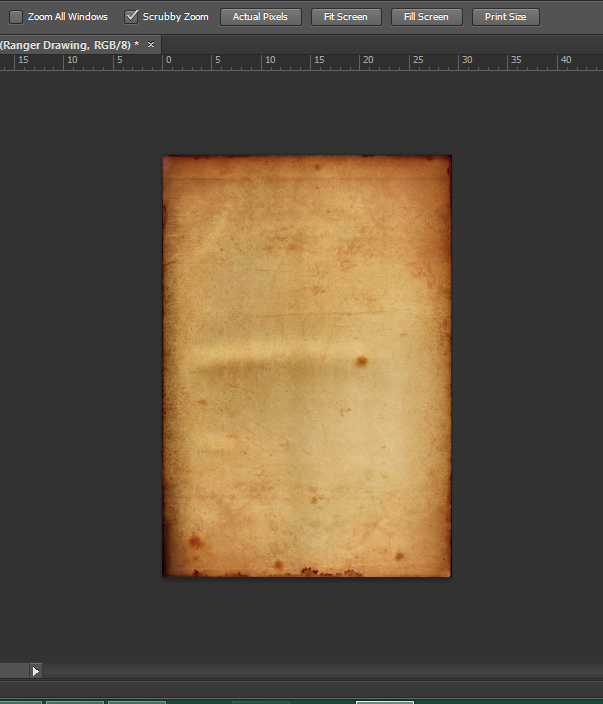
I started to create the map by getting a piece of paper and staining it brown with tea-bags to get the old and weathered look of a map. I then took it into Photoshop to edit the colours and levels to make it look even better.


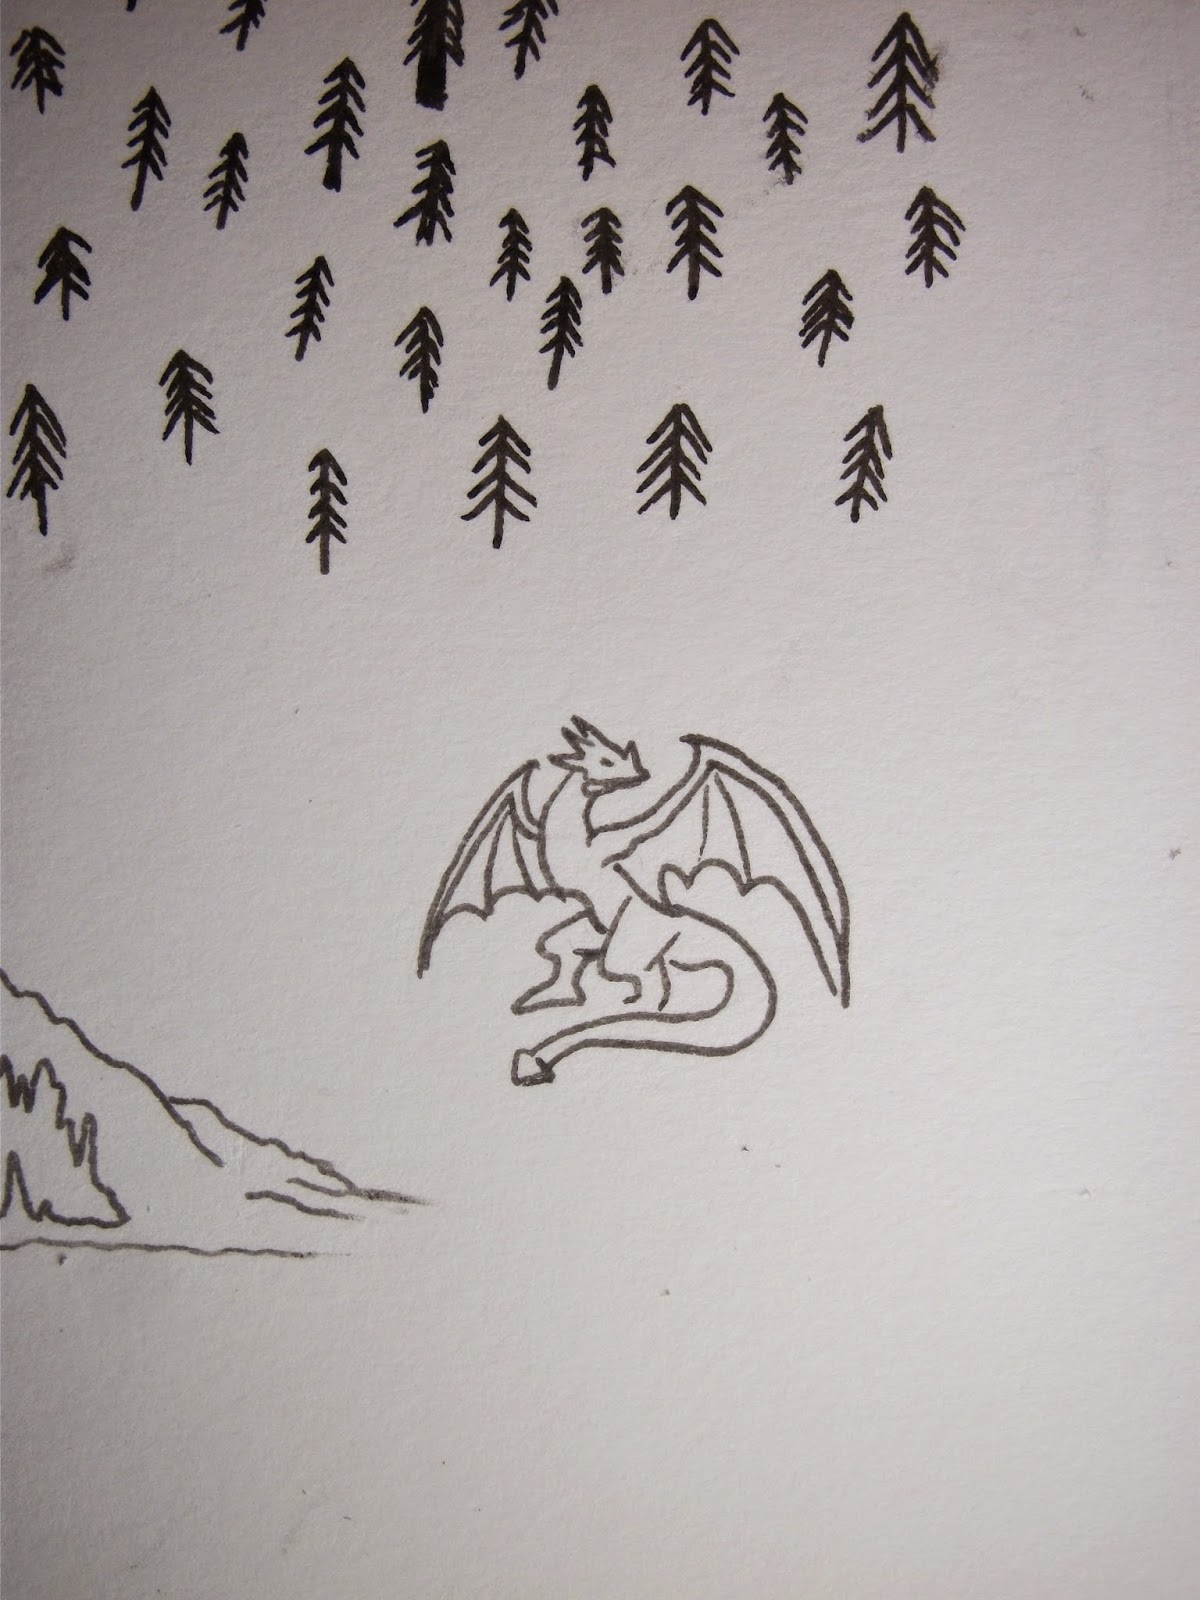
Now that the base for the map was done, it needed some small illustrations of mountains and castles to give it a medieval impression. In my sketchbook I began to draw some small doodles and pictures that could be included in the map using a fine liner.


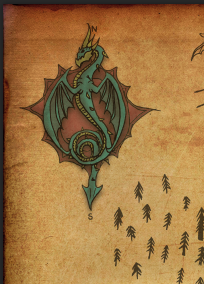
These were then taken into Photoshop and also had the threshold adjusted to make the lines more darker and defined. I then got rid of the white in the image using the magic wand tool. I then selected them and placed them onto the tea stained background and resized them so that the stained page now looked like map.


The next stage was to introduce a small amount of colour to these small doodle so that the map also attracted the eye. I decided to apply colour to the compass in the top left corner of the page, as a compass is the defining feature of any map.
I coloured and shaded the compass using the same method that I used for the archer character, but i used a desaturated colour pallet so that it wouldn't distract the eye from the primary focus point of the archer.


Once I had added the Ranger to the image my emulation was finished. 
Here is my finished product.